Figma integration
How can I Integrate Figma with Pencil?
The Pencil Plugin for Figma
If you’re a Figma person, your best ideas and boldest work begin on the Figma canvas. With the Pencil plugin for Figma, you can bring your projects seamlessly across from Figma, ready to adapt, localise and produce at scale with Pencil’s suite of agentic AI marketing tools.
Simply download and install the plugin, then export a section from Figma and import it as a template into Pencil. Frames map to formats. Text stays editable. Shapes stay sharp.
The Pencil Plugin for Figma lets you export Figma sections as .pencil files, which you can then import directly into Pencil as works or templates in Pencil Ads Editor. This enables a smooth handoff between design teams and ad generation workflows in Pencil.
Installation guide
Please Note: The plugin needs to be installed via the Figma Desktop app. It won’t work in the Figma in-browser web app.
Download the plugin
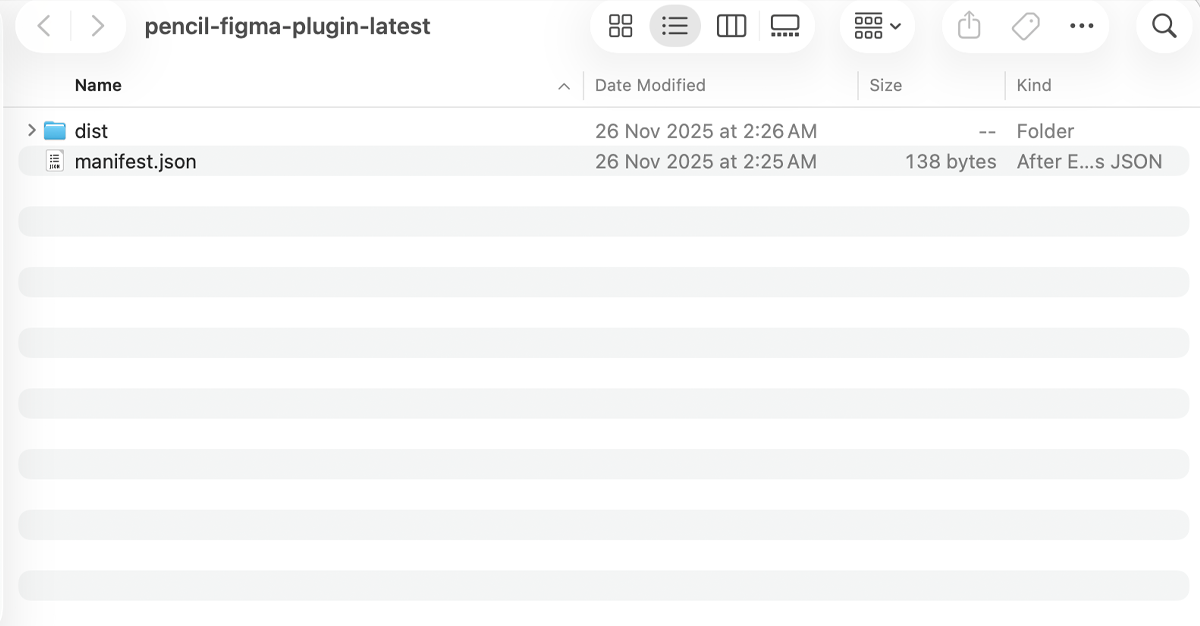
Download the plugin as a compressed .zip file here. Then, unzip the plugin package, and extract the contents. Take note of where you unzip it to, because you’ll need the manifest.json file to activate it in the next step.
Install in Figma
- Open the Figma Desktop app
- Click on the top left menu:
- Select the
manifest.jsonfile - Your plugin should now appear under the plugins you have available in Figma.
How it works
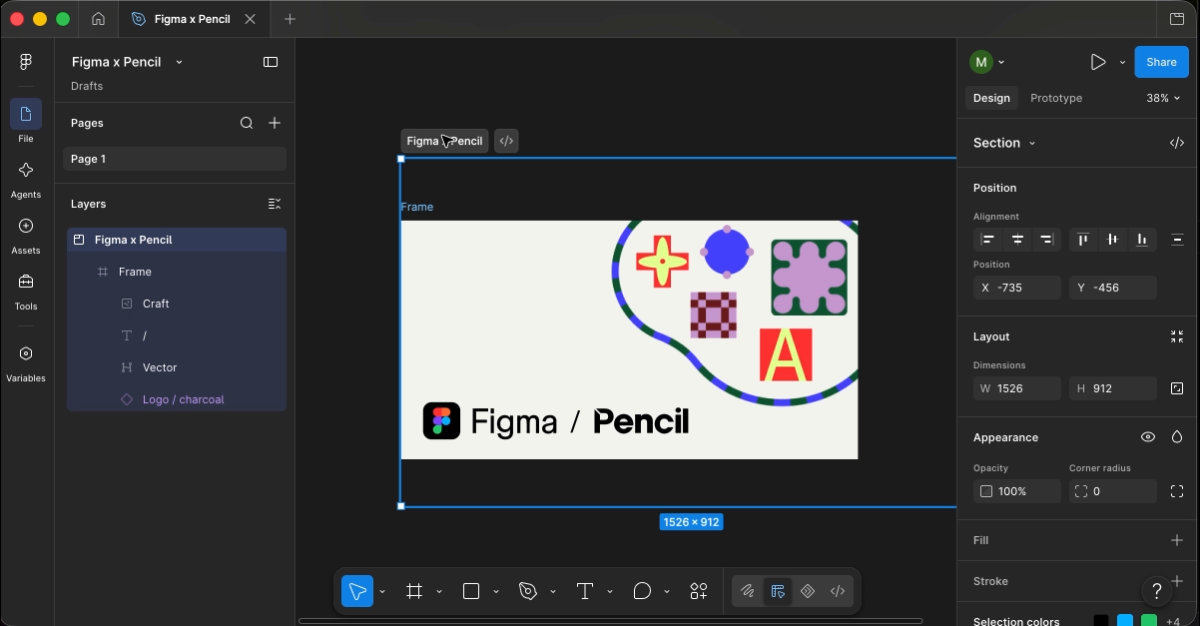
The plugin converts a Section in Figma into a Template in Pencil. Each top-level Frame inside the section becomes a Format within that template. You can then use Pencil’s AI Auto Resize to reformat those compositions across any additional formats or sizes you may need.
Important: Only the first-level frames inside each format are imported from Figma. Everything within the root level of a frame gets flattened into a single image. Therefore it's important to structure your Figma project properly to preserve editability for layers that you want to be able to tweak inside Pencil, such as text layers.
As long as FIgma files are structured as per the examples below, and, and you keep your fonts installed locally, the handoff from design in FIgma to production in Pencil takes only a few minutes.
Key concepts
- Section in Figma → Template in Pencil
- Top level frame in Section → Formats
- First level content in each Frame → Pencil Layers
Please see the examples below of how to properly structure your Figma work file for best results when importing into Pencil.
Using the Plugin
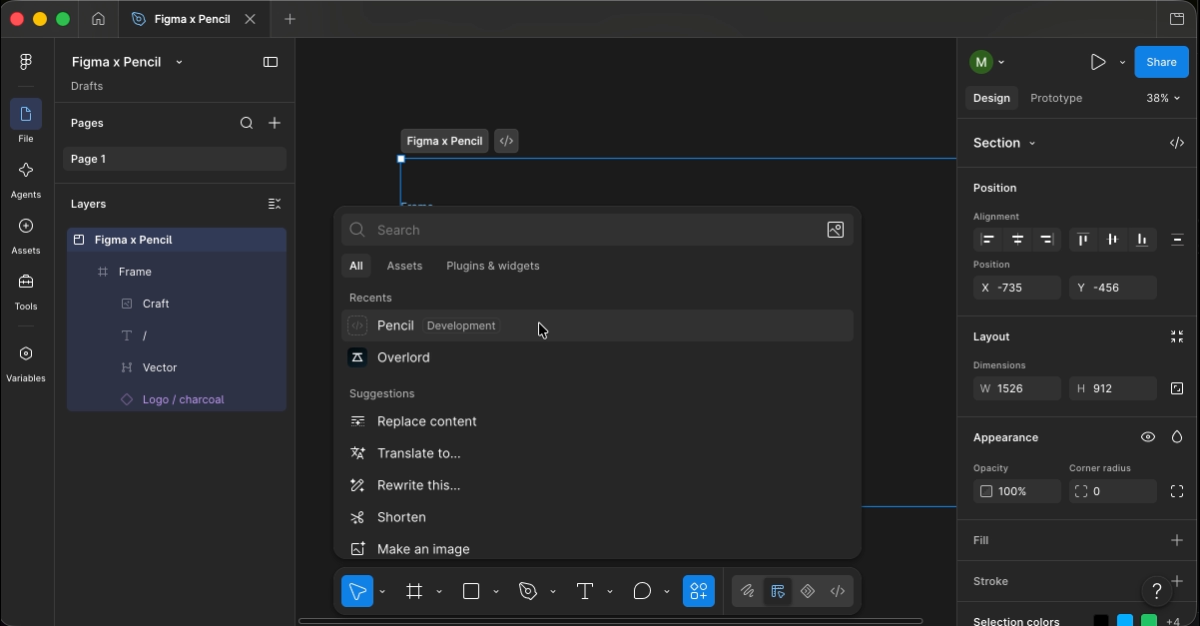
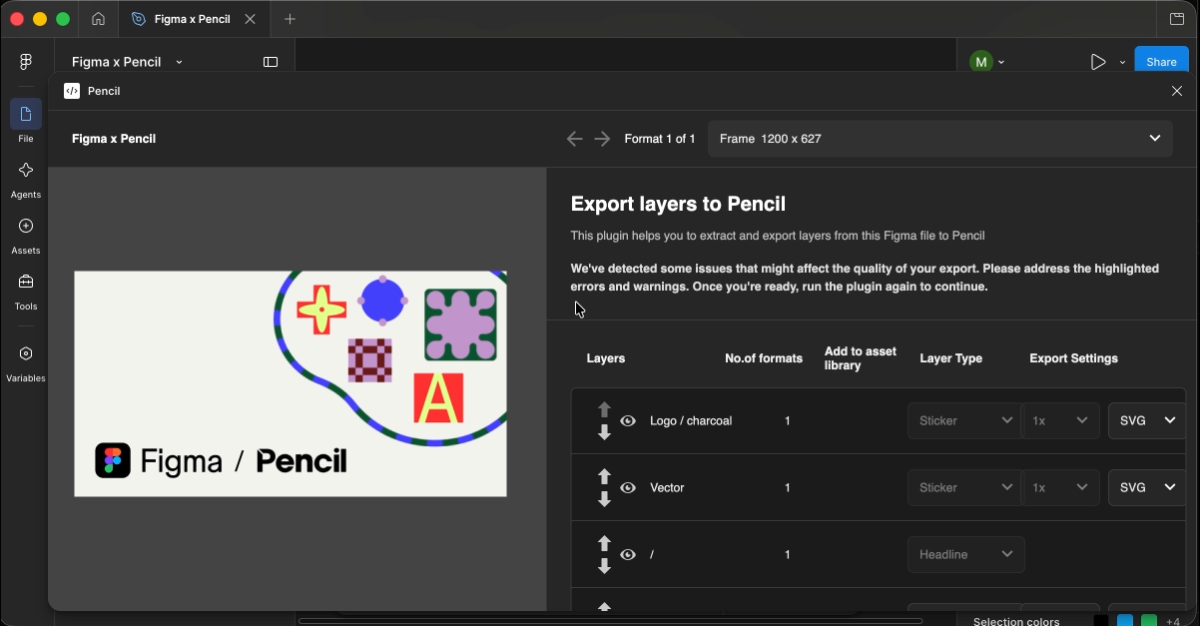
Once you launch the plugin in Figma, you'll be prompted to select a section from your design file. After selecting a section, the plugin will display a real-time preview of how that content will appear in Pencil.
During this preview phase, you can:
- Adjust individual layer settings to fine-tune how each element is imported.
- Compare your imported view to the original Figma design using the Compare with original button.
- Choose how Pencil should handle each Figma element. For example, text layers can be imported as headlines, sub-headlines, fine-prints, etc.
Note: Some minor adjustments may be required to match your original layout precisely. This is a known limitation with the current version of the integration. Pay attention to text layers especially, which sometimes drift and need to be manually fine-tuned.
This step allows you to ensure the best possible fidelity between your Figma designs and the final template experience in Pencil.
Example 1 - Incompatible structure. Layering is lost
If your Figma section contains a single frame with multiple nested elements (e.g. images, text), everything inside will be flattened into one image layer in Pencil.
Why? Because Pencil imports only the first level of items inside each Format.
Result in Pencil:
- 1 Format
- 1 Layer (flattened image)
This is an example of what not to do, as this structuring won’t preserve editability, or import your layers as intended.
Example 2: Compatible structure. Preserves layering
With the right structure, you can preserve editable layers like text and shapes.
In Figma:
- Frame 1.1 → Image
- Frame 1.2 → Text
- Frame 1.3 → Rectangle (shape)
Result in Pencil
- Format 1
- Image Layer 1.1
- Text Layer 1.2 (editable)
- SVG Shape Layer 1.3
This is the proper structure to use to keep your text editable. Any .svg shapes retain their scalability and are treated as shape element layers - as opposed to rasterised image layers - in Pencil.
Important caveat on Masks
To ensure your carefully crafted masking effects and elements are preserved, you’ll need to group the mask together with the target layer in Figma.
Top Tip for Best Results
Keep the parts you want editable - such as text - on the top layer.
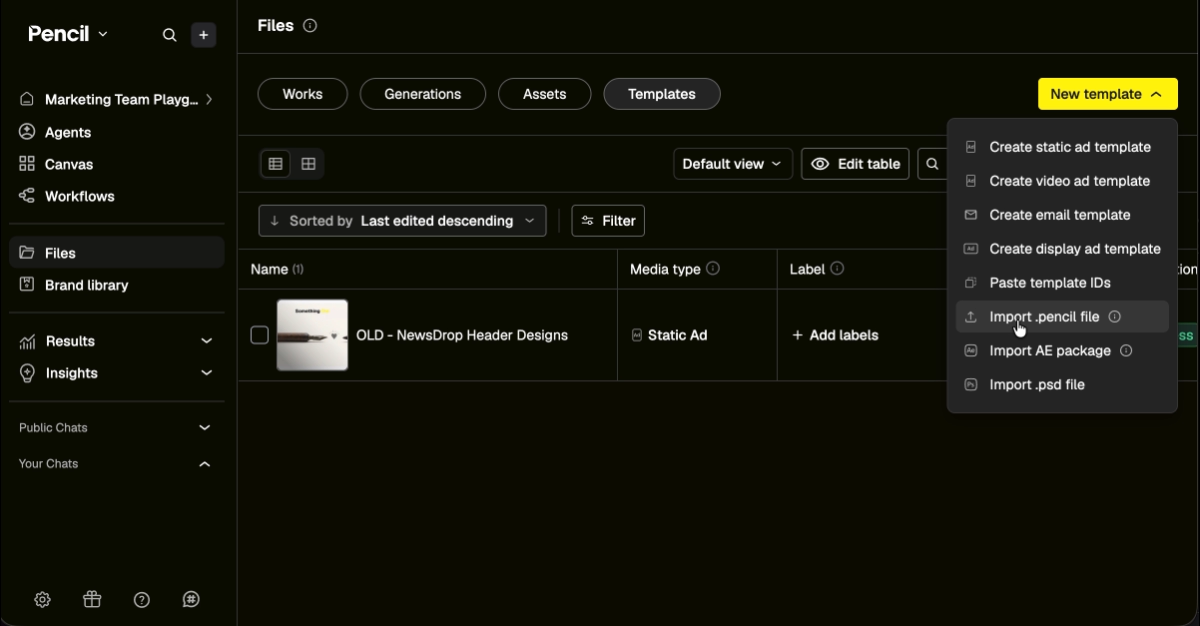
Importing into Pencil
- Navigate to the Template Library on the left-hand side of your workspace
- Press Import templates and locate your
.pencilfile
You can find the Help article, along with the plugin download here:
https://help.trypencil.com/en/articles/10766401-how-can-i-integrate-figma-and-photoshop-with-pencil
Features


.webp)
![Bias Breaker [v2]](https://cdn.prod.website-files.com/682bafcf9a7a236122010f96/684d7b93f03a82a81a34aa7d_brandtech.avif)


